Boston Fern 101: The Comprehensive Guide to Growing and Caring
Are you looking for a way to bring the beauty of nature indoors? If so, the Boston fern is the ideal houseplant for you. With its lush and graceful fronds, this plant has been captivating visitors since the Victorian era.
The Boston fern thrives in moist environments and indirect sunlight, making it a perfect addition to any space. Whether you want to add a refreshing touch to your modern decor or create a tranquil atmosphere in your home, the Boston fern is sure to impress.
In the following article, you will learn about the features and characteristics of the Boston fern, how to grow and propagate it, common problems and solutions, and its various uses.
Key Takeaways
- The Boston fern is a perfect houseplant for those looking to bring nature indoors.
- This plant thrives in moist environments and indirect sunlight.
- In this article, you will learn about the features, characteristics, and uses of the Boston fern, as well as how to grow and propagate it.
About Boston Fern
Boston fern, also known as Nephrolepsis exaltata ‘Bostoniensis,’ is a unique variation of its parent sword fern. It belongs to the Nephrolepidaceae family and was discovered in Boston by F.C. Becker in 1895.
Boston fern is native to tropical regions in North, Central, and South America and thrives in moist soil, indirect sunlight, and high humidity. Its ever-growing green fronds make it a popular choice for decorating living rooms, porches, balconies, and bouquets.
Boston fern does not produce flowers, but it has cultivars with curly, wavy, arching, double-pinnate, and overlapping fronds.
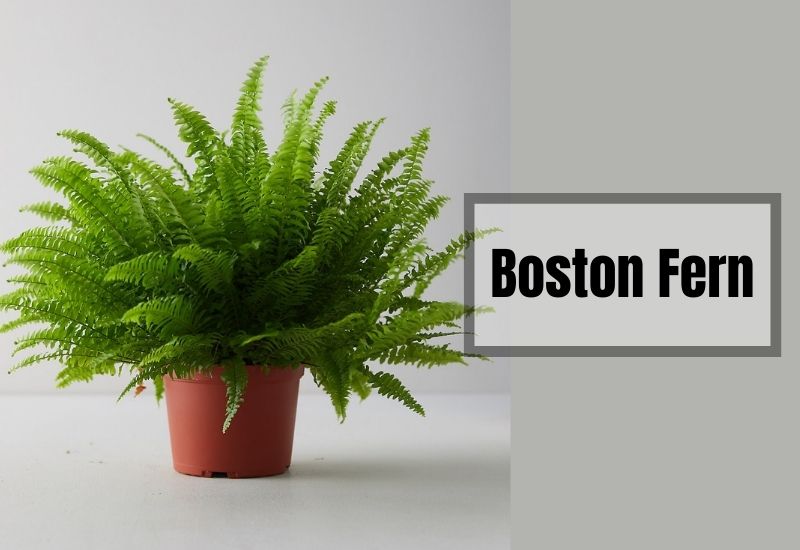
Features and Characteristics of Boston Fern – Know its Beauty
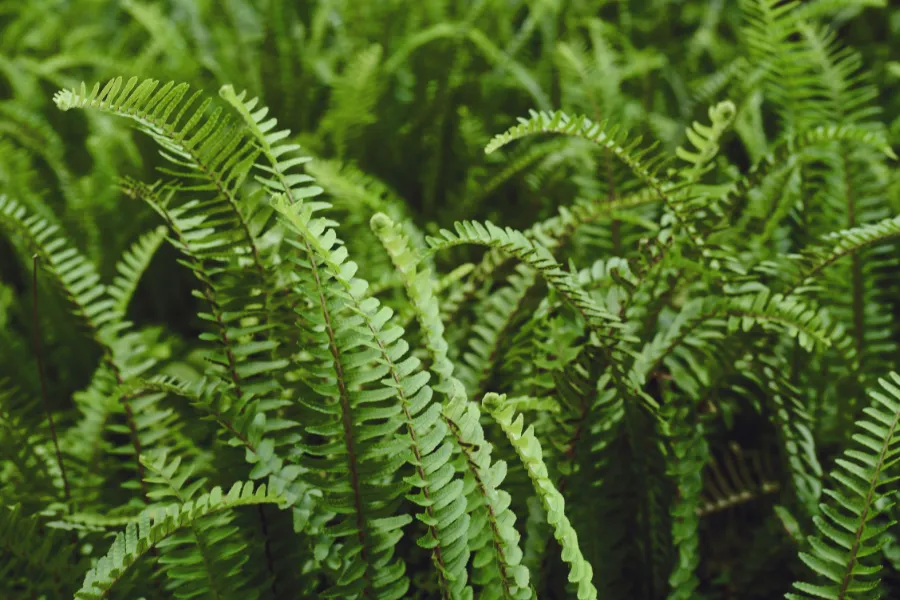
The Boston fern is a beautiful plant with unique features and characteristics that make it stand out. The fern has elegant, arching fronds that can grow up to 2-3 feet long and are arranged in pairs opposite to each other on a stiff rachis, giving them a feather-like appearance. The fronds are decorated in a circular rosette form, adding to the fern’s beauty.
Matured Boston ferns have grape-sized nodules called bulbils on their roots, which absorb essential nutrients and water from the soil, helping the fern to live longer. Non-viable spores, which appear as brown to green colored dotted patterns under the pinnate leaflets, add to the fern’s beauty and are not a disease.
If you have pets, you can rest assured that the Boston fern is safe for them as it is not toxic to people, cats, or dogs. If you are interested in growing a Boston fern, there are resources available to guide you in doing so.
How to Grow Boston Fern
Potting Mix
To grow a healthy Boston fern, it is important to use a well-aerated and well-drained soil mix that is moist.
A balance soil mix can be prepared by mixing 50% peat moss, 25% perlite, and dolomitic limestone to maintain pH 5-5.5. The peat moss provides rich organic food, while the perlite acts as a drainage material to avoid root rotting.
Watering
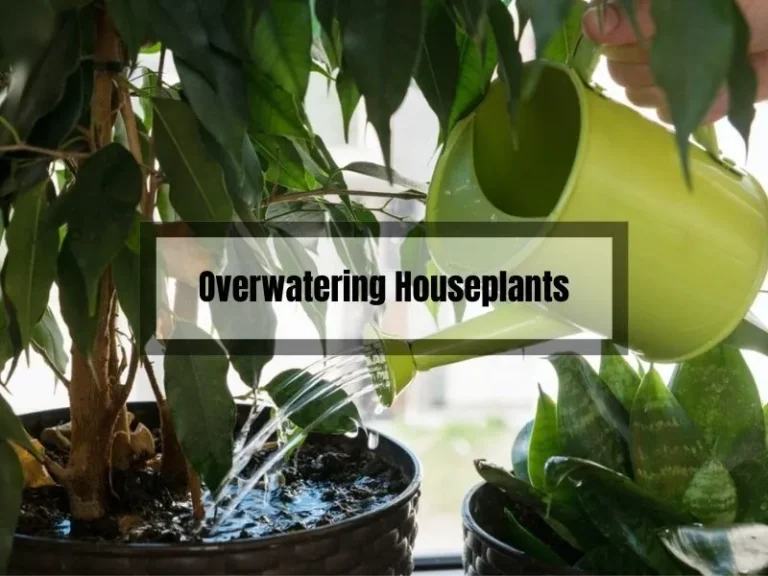
The Boston fern thrives in moist soil but does not do well in soil that is too soggy or dry. To avoid overwatering or underwatering, it is recommended to water the fern early in the morning as temperatures rise. Micro-tube irrigation systems or water breakers can be used for watering.
To determine if the soil is moist, insert your finger into the soil up to a depth of two inches. If it is dry, water the fern. Alternatively, you can lift the pot to check if the soil is dry or moist.
After watering, allow excess water to drain away to prevent the soil from becoming soggy. During hot summer months, frequent watering may be necessary, possibly even twice a day, to prevent the soil from drying out.
Light
Boston fern does not tolerate direct sunlight and prefers a bright spot. Avoid south-facing windows that allow loads of direct sunlight.
Temperature
Boston fern needs temperatures between 65-95ºF, with the night temperature at 65 ºF and the day temperature warmer but not exceeding 95 ºF.
Humidity
Boston fern requires at least 50% humidity to grow well. Pebbles can be arranged in a tray and water poured in the tray to make the pebbles damp.
Place the Boston fern on these damp pebbles such that the water does not sip in the pot through drainage holes. Misting over the fronds can also maintain humidity.
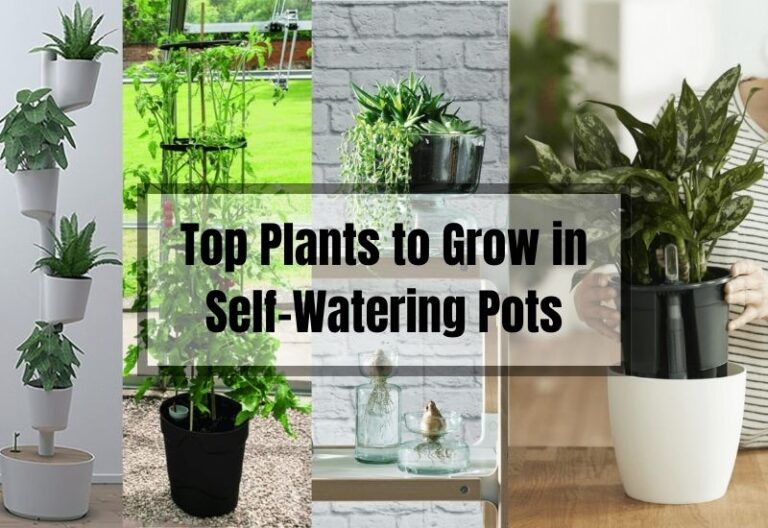
Container
Boston fern can be grown in a basket of 10-12 inches or in a pot of size 4-8 inches. The container should be wide enough to give enough space to grow and accommodate enough soil to provide moisture and nutrients and take time to dry out. Plastic or glazed terra cotta containers are recommended since they take longer to dry out.
Fertilizer
To keep the Boston fern happy and healthy, a water-soluble liquid fertilizer can be used. Mix the liquid fertilizer at half strength and add it every other week. From April to September, feed the fern. If you have recently repotted the baby Boston fern, give it time to adjust to the new soil mix before adding fertilizer.
During summer, when the fern is in an active growth phase, supply diluted liquid fertilizer once a month. The fertilizer should have an NPK ratio of 20-10-20. The monthly slow release of fertilizer in summer will also make the Boston fern happy and healthy.
In winter, the fern needs fewer nutrients and grows slowly. Add the fertilizer once every two to three months, diluting it at half strength. The NPK ratio should be between 20-10-20 and 15-0-15. Providing excess food will prove deleterious to the Boston fern’s health.
Propagating Boston Fern
Boston ferns are a popular houseplant because of their lush green fronds and easy maintenance. Propagating Boston ferns is a great way to increase your collection or share them with friends.
There are several methods to propagate Boston ferns, including the division method, propagating via Boston fern runners, and propagating Boston fern nodules.
Propagation via Division Method
To propagate Boston ferns via division method, remove the matured fern from its pot and slice it into halves or quarters with a sharp knife. Each section should be about 1-2 inches and have some roots attached.
Cover the drainage holes of the new pot with broken pot or rock to promote adequate drainage and fill it with sterile soil mix. Water the new pot and place it in indirect sunlight. Make sure to water it enough to moisten the soil but not make it soggy.
Propagating via Boston Fern Runners
Boston ferns can also be propagated via runners. These are shoots that arise from the crown and run along the ground or touch the soil surface. They have nodes that can give rise to new baby Boston ferns once they come into contact with soil that has nutrients.
To propagate via runners, tug some of the runners or cut them with a sharp knife. If cutting with a knife, make sure to let it heal before planting.
Place the runner upright in the watered soil and cover it with a plastic bag. Expose it to indirect sunlight and a temperature of 60-70 °F. The offshoot will give rise to new roots.
Propagating Boston Fern Nodules
Boston fern nodules can also give rise to new baby Boston ferns, even if the matured fern above it is old or dead. To propagate via nodules, separate out the underground stem (rhizomes) with attached nodules from the mother fern.
Place it in moist soil and indirect sunlight, and it will give rise to a new baby Boston fern. If you want to propagate an old or dead Boston fern via nodules, pot the nodules in fresh moist soil mix and wrap the pot in a plastic bag containing air. Expose it to indirect sunlight and a temperature between 59-68 °F. Each nodule should give rise to new roots.
Propagation using tissue culture method can also be performed in a lab. This modern tissue culture method, such as micro-propagation or in-vitro propagation, uses stolon/runners to produce many liners or plantlets of Boston fern.
Transfer them from 72-, 98-, or 162-cell trays into a 4-inch pot for 6-8 weeks, then into a 10-inch pot (depending on the size of the Boston fern) to form a fully grown, lush green Boston fern for sale.
Potting and Repotting
If your Boston fern has outgrown its current pot or shows stagnant growth, it is time to repot. Spring is the best time for repotting as our Boston fern grows during this season.
Choose a container that is 2-5 cm larger than the current pot and fill it with soil mix up to 5-8 cm. Tilt the pot containing the Boston fern and remove it carefully.
Place it in the prepared new container and add 1 inch of soil around the repotted fern. Water it and let it drain to avoid root rot. Keep the soil aerated and moist, and place the fern under indirect sunlight.
Common Problems and Solutions
Issue: Brown Boston fern instead of green lush elegant fronds.
Solution: It is because of:
- Intense light (burns the tips)
- Lack of ambient temperature (during day 95 °F and night 65°F)
- Too much watering (Boston fern loves moist and not soggy)
- Lack of humidity around (Boston need high humidity like in forest)
- Overcrowding, over growth and compact soil form (inadequate aeration)
- Over fertilizer addition (too much food to handle)
- So provide adequate conditions for it to grow.
- The urge of touching can turn lush green frond to develop brown coloration.
Issue: Boston fern foliage stunting, wilting turning gray or yellow with unhealthy roots. Roots show stunted growth, brown in color, even after adequate watering.
Solution: Boston fern is suffering from a disease known as Puthium or Phytophthora. It is likely to suffer from this disease in cold, dark weather. Use pathogen free potting soil and repot disease free baby Boston fern.
Issue: Brown irregular lesions on the Boston fern which occur in summer.
Solution: State that our Boston fern is not well and suffering from Rhizoctonia. The lesion extends to cover the entire beauty of Boston fern with brown web like mycelia. You can use fungicide.
Issue: Boston fern fronds turning black
Solution: Because of the attack of nematodes. You can fight back by mixing soil with rich compost. This will promote growth of good fungi (kills nematodes).
Issue: Yellow Boston fern
Solution: This is because of under watering, improper humidity. Provide adequate watering (moist soil) and misting to fulfill humidity factor.
Issue: Boston fern appears brown in spite of providing adequate conditions
Solution: It’s the time to repot. Repot in the soil mix of 50% peat moss, 12 % bark (horticulture grade), perlite. This promotes moistness in soil.
Issue: Boston fern turning yellowish/pale instead of retaining fresh green color
Solution: Provide nutrients by using diluted water soluble fertilizer throughout the growing season. Know about it in Fertilizer topic.
Issue: Slugs attacking Boston fern
Solution: Sprinkle a coarse substance. Dry eggshells, coffee grounds, diatomaceous earth will work.
Issue: Tip to maintain the pleasant welcoming green lush look of our Boston fern
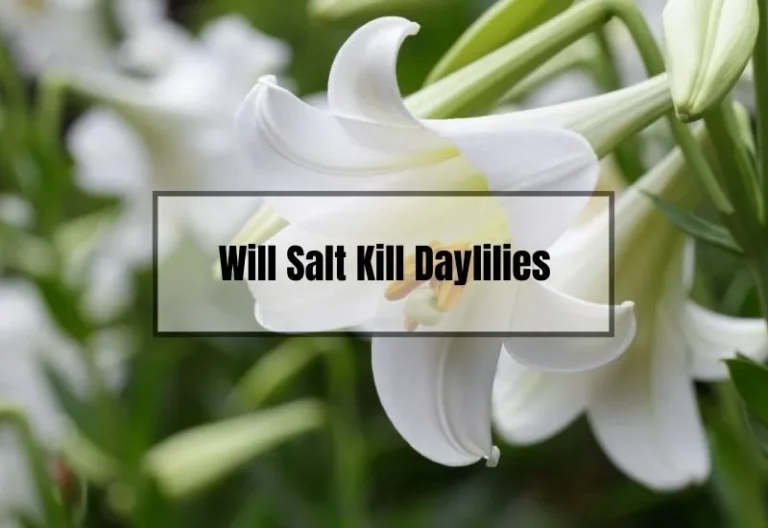
Solution: Spray it with an Epsom salt solution (mix 2 tablespoons per gallon of water) twice per year. Make sure you rinse the fronds with water after applying fertilizer to avoid burning.
Issue: Boston fern turning grey
Solution: Adequate watering and by not letting the soil dry, you can avoid graying of your Boston fern.
Issue: Long, droopy weak frond
Solution: Needs bright indirect sunlight to get back to graceful lush green look.
Issue: The yellow, drooping and dry leaflets
Solution: Because of lack of humidity, water and high soluble salts. Provide adequate water. Keep soil moist and flush extra salts out which accumulate due to excess fertilizer.
Issue: How to do Winter care
Get our Boston fern to stay with us in our living room during winter. They need moist soil, high humidity and daytime temperature (75 °F). During winter it is difficult to provide these conditions outdoor. So get it indoor. Give it time to know its new place.
Prune some oldies frond and keep the new ones, supply fertilization as required. Let it now go in sleeping phase i.e. Dormant during winter. Keep in garage or room. Do not worry about the light conditions, winters anyways lack lights. During the winter care do not forget to water once a month to maintain aeration, moisture. Don’t worry your Boston fern will get through winter.
Uses of Boston fern
As an indoor houseplant, Boston ferns are known to filter air pollutants such as ammonia, formaldehyde, xylene, toluene, and benzene, promoting phytoremediation and helping to curb indoor air pollution.
This feature has been appreciated by NASA scientists. In the floral industry, Boston ferns are highly valued for their long-lasting, profound green foliage, which embellishes artistic vase arrangements of flowers and floral decorations.
Boston ferns have also made their way into living atmosphere control system plans, which focus on supplying oxygenated air in primary living areas.
Furthermore, Boston ferns are used in Vertical Greenery Systems (VGS) for their rich foliage and air-purifying capabilities, making them a sustainable choice for modern building construction plans.
Conclusion
By following the guidelines we have discussed, you can keep your Boston fern healthy and thriving. Remember to keep the soil moist, provide indirect sunlight, and maintain high humidity.
Not only will your fern provide purified air, but it will also add beauty to your living space. Enjoy the benefits of your feathered frond friend in any room of your home.